So you bought a Beastmaker. Or was it a Metolius board? Tension? Concept Climbing. Maybe it was So iLL… or Awesome Woodys… or maybe it was a bed slat nailed above a door. Now what?
When it comes to the crunch - it doesn’t matter. Different hangboards will have their pros and cons, but the reality is - what you do with it is way more important than how many different holds there are. If you want to really get into what the deal with hangboarding is, have a read of The Science of Hangboarding.
First thing’s first - good form and consistency one one particular hold will pay off much more than trying to use every one of the 732 grip variations on a board. Just like any other workout - you’re there to put in the work, to train your body to get better at doing that particular thing.
One of the most important tips for beginning hangboard enthusiasts is understanding this:
When you’re actually doing the hangboard workout, sometimes it doesn’t feel like you’re working that hard compared to say - doing a HIIT workout. Don’t be fooled - even a short hangboard session can be a huge workout, especially relative to the size of the muscles you’re training, and especially relative to the complexity of the hands, wrists, forearms, and the connective tissue that holds it all together. Here’s a good mantra to remember:
‘We want to do the least amount of work needed to stimulate the adaptations that make us stronger’.
In other words - don’t over do it.
So, here’s a good place to start:
I’ll be honest - this can be the boring part. Though just like with any exercise, warming up is SUPER important to avoid injury and to make sure the workout is going to be effective. When you’re actually doing the hangboard workout, sometimes it doesn’t feel like you’re working that hard compared to say - doing a HIIT workout. Don’t be fooled - even a short hangboard workout can be very effective.
Bear in mind, just like adding or removing weights in the gym changes intensity - changing hold size and hang duration will change intensity on a hangboard. Everyone will be different!
How do you know when you’re warmed up? Well here’s a hint - if you’re still rugged up in your hoodie and beanie - you’re probably not warm enough.
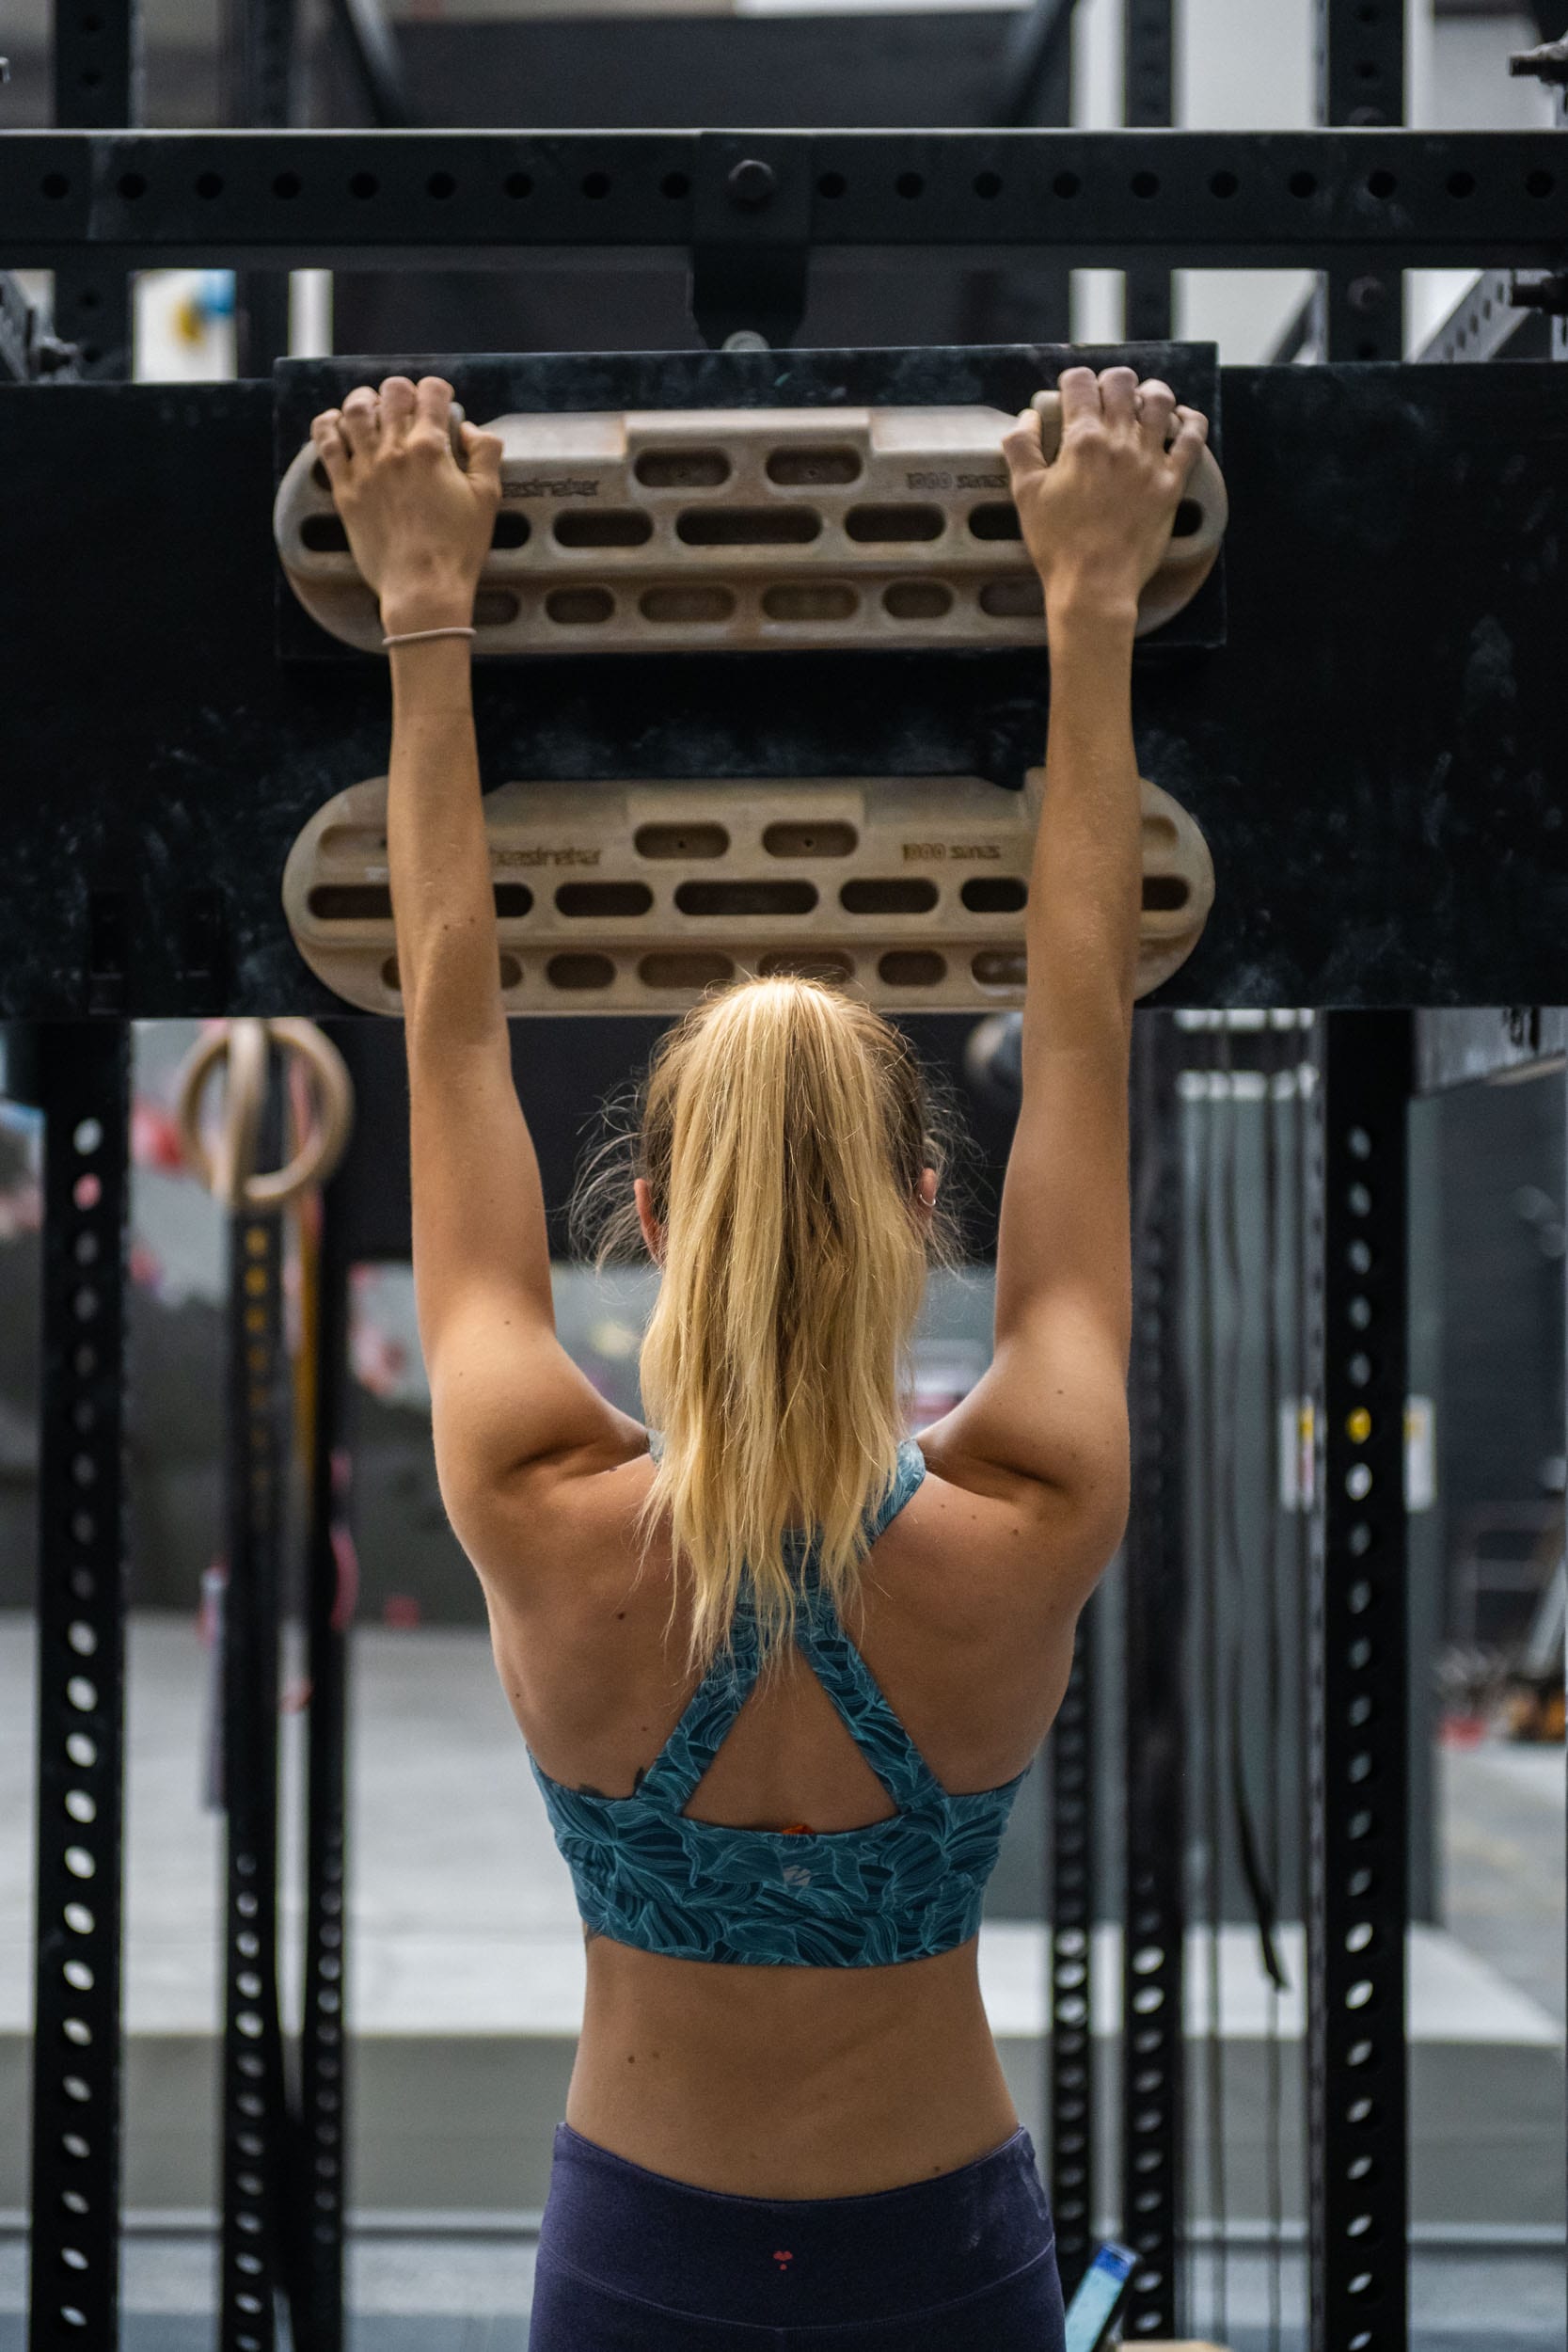
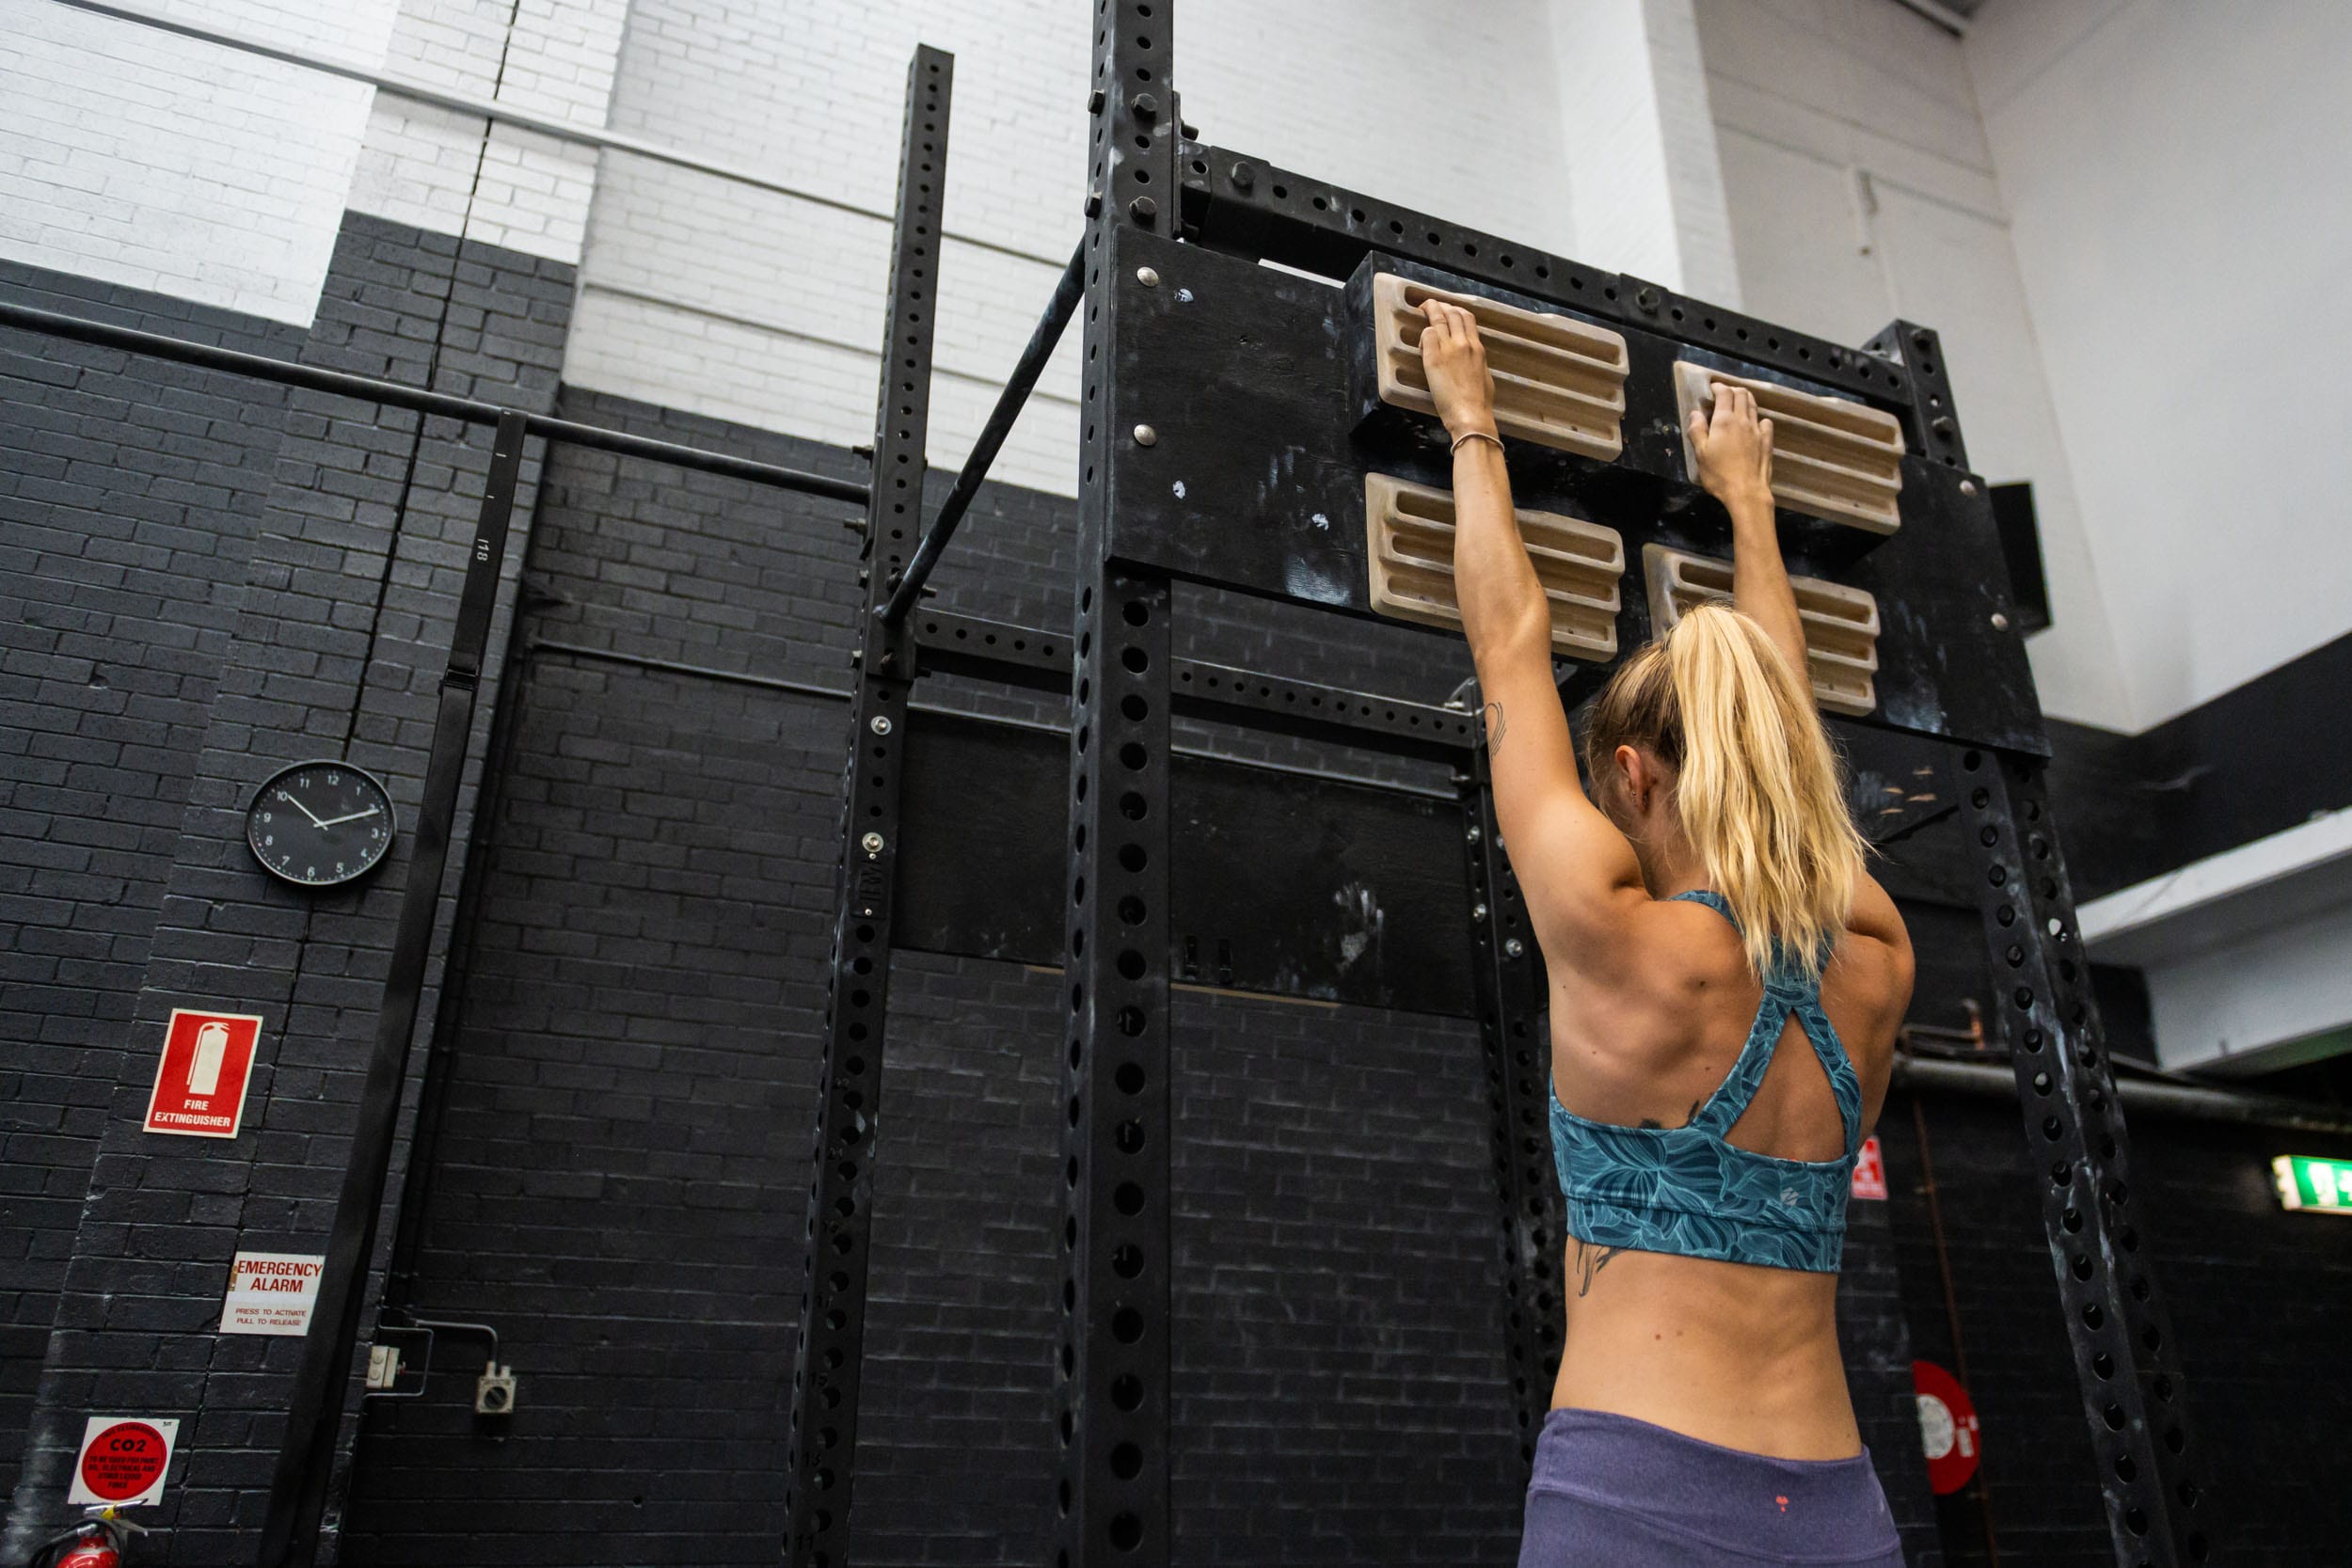
We’re going to keep this simple - use a half crimp, and never train on a hangboard with a full crimp. Half crimp is 4 fingers all on the edge, with fingers bent at ~90 degrees. Keep that thumb off it!
An open hand grip can also be trained, usually as a front 3 finger drag, or back 3 drag. Keep in mind however that by losing a finger, you’re increasing the load on the other fingers considerably - so proceed with caution.
You hear it a lot - form matters. Yes, you’re simply hanging off of something, but it still matters. Keep your shoulders back and down (and not shrugging), keep your elbows engaged and not locked straight, and if a finger pops off or your form starts to slip - STOP. Injuries from hangboarding are very common, but very easily avoided.
Ah, which one of those 732 holds do you use? Fair question - just remember that most of those holds and pockets are there to train specific grip types. Keep it simple to start with, with a single flat edge that you can half crimp on. Start with something that is deep enough to have your first and second pad of your fingers on (aka. Up to your second knuckle - or your middle phalanges for the nerds out there). Work your way back to just having the first pads of your fingers on.
The easiest place to start is the classic 7:3 Repeater protocol. This is done bodyweight only and focuses more on the endurance side of hangboarding.
Dig deep, try hard - but if you fail to complete a set, drop the intensity by going to a larger hold.
If you’re getting bored of the 7:3’s or they’re getting a little too easy - you can start to look at other hang protocols. The next logical step would be to incorporate hang protocols that train your max hang strength. At home, this can be difficult without having weights to add - though you can get creative with a sack of potatoes or paint tins! Alternatively, if you’ve got nothing, you can adjust the intensity by moving to smaller holds.
One of my favourite max hang focused exercises is the 7:53 Max Hang protocol.
Adjust intensity (change hold size or weight) to be able to barely hold on for 10 seconds.
You’ll need to dig deep in a different way for this exercise, as you’re more likely to feel powered out instead of pumped. This exercise seems like a lot of rest - but the point of it is to increase your initial ATP-PC capacity. (Into science? Read more here).
It’s so, so easy to do too much. Just remember this - climbers climb hard, but rest harder. The rest is the important part that actually means you get stronger. Try not to pair up a huge climbing session with a hangboard workout, and if you’re new to it, leave a day in between.
Hangboarding is a great way to isolate and train the body parts that climbers value above all else - but you’ve got to take it easy. You can’t get stronger when you’re injured! Just remember - with solid consistency and a gentle ramp up in intensity, you will get stronger on a hangboard. Or a bed slat. Seriously - it works.2022
Check out our 2022 Hangboard review video
