Bouldering, specifically, has become a hugely popular form of rock climbing because of how accessible it is. Instead of needing ropes and hardware, the gear you need to get out and start climbing on some real rock is much simpler, and Sydney is famous for its bouldering!
If you’re new to the world of climbing on real rock, there’s a few considerations you need to take into account, as well as some ethics and principles to remember when you’re in the bush.
Words by Adrian Mascenon, originally posted in 2020, freshly updated for 2026.
If you’ve never been climbing outdoors, it’s a good idea to go with a group of people that HAVE been outdoors. Nothing beats real-world experience and having someone experienced showing you how it all works can be infinitely valuable. Even one ‘grandmaster’ can teach a whole group of people that are new!
Before you head out, research where you’re going and the climbs you might try. Outdoor grades are usually stiffer than what you’ll find indoors, so prepare to be humbled - and keep it in your scope.
The Sydney Bouldering guide is a great reference and makes for a nice coffee table book.
Online you can check out theCrag - just make sure you take lots of screenshots in case you don't have reception.
Here's a quick snapshot of the gear you'll need when you head out to the crag.
The essentials
The nice to haves
Obviously, as you become a more experienced climber, you may choose to use different shoes for different kinds of climbs - indoor or out. You can read this article on how to find the best climbing shoe when you're just starting out. We always suggest that you go try them on first!
When you’re climbing routes, a small chalk bag that ties around your waist is definitely the way to go - however having a chalk bucket for your bouldering escapades is often more convenient as many models have pockets for all your accessories, and stand open on the ground so you can get both paws in. We are frothing over the gear from Aussie brand, Open Project - they have some really great bags and buckets made out of recycled fabric. We will have some for sale at Climb Fit very soon!
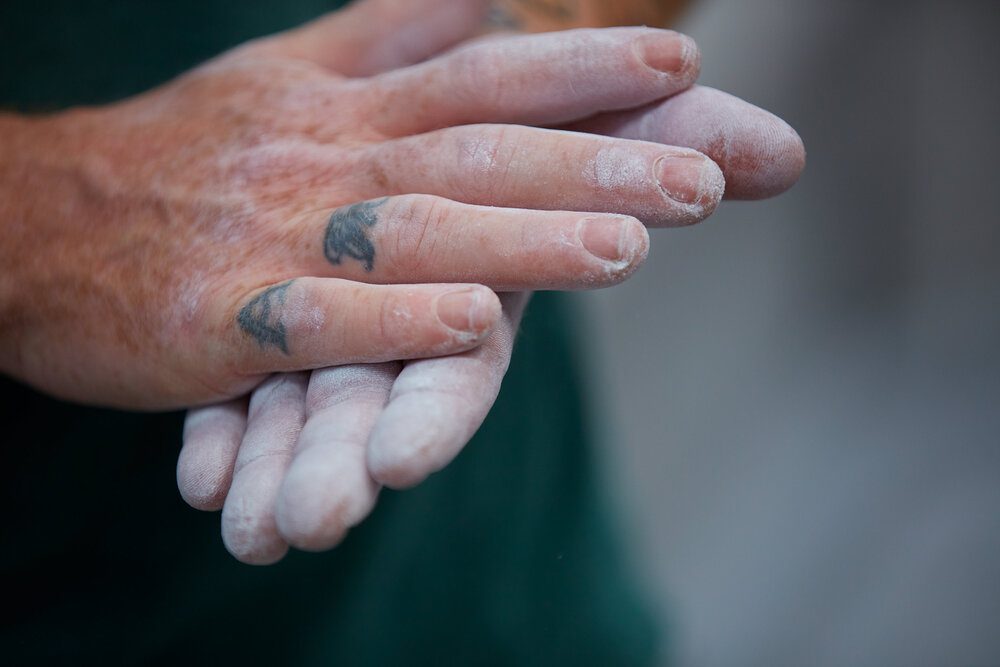
You can never have too many brushes! Used to clean dirt, tick marks and excess chalk from holds - stay away from harsh brushes, and consider a brush designed specifically for climbing. They’re usually made to be abused and some have some neat little features to go with them. Grab one here.
Unlike in the gyms, you’re not surrounded by a huge sea of matting. Bouldering mats that you take outdoors are clever pieces of equipment that condense those mats into something you can carry in on your back. Made in all sorts of sizes with at least two different types of foam - the top layers spread the impact, and the bottom layers absorb it. Some are pretty basic, and others come with more nifty features.
This one’s non-negotiable! When you're outdoors, there’s the possibility of everything from cuts and grazes, to snake bites and accidents climbing. Get a first aid kit that’s appropriate to where you’ll be going and how far from help you’ll be, and most importantly, know how to use it. Add to this sunscreen and a hat as it's very likely that you'll be out in the sun most of the day.
Why? Everything you take in, you have to take out. Rubbish wrappers, used tape, apple cores and banana skins - all of it. Even if there’s a bunch of trash left around that’s not yours - make it yours. It doesn’t take much to leave the areas we use better than how we found it.
There are no vending machines or coffee shops when you’re in the bush - make sure you’ve got enough fuel for your body, and plenty of water to go with it. Checking the weather before you leave is always a good way to gauge how much water and or/electrolytes you’ll need.
Check out our nutrition for bouldering blog for more tips: How to optimise nutrition for bouldering performance
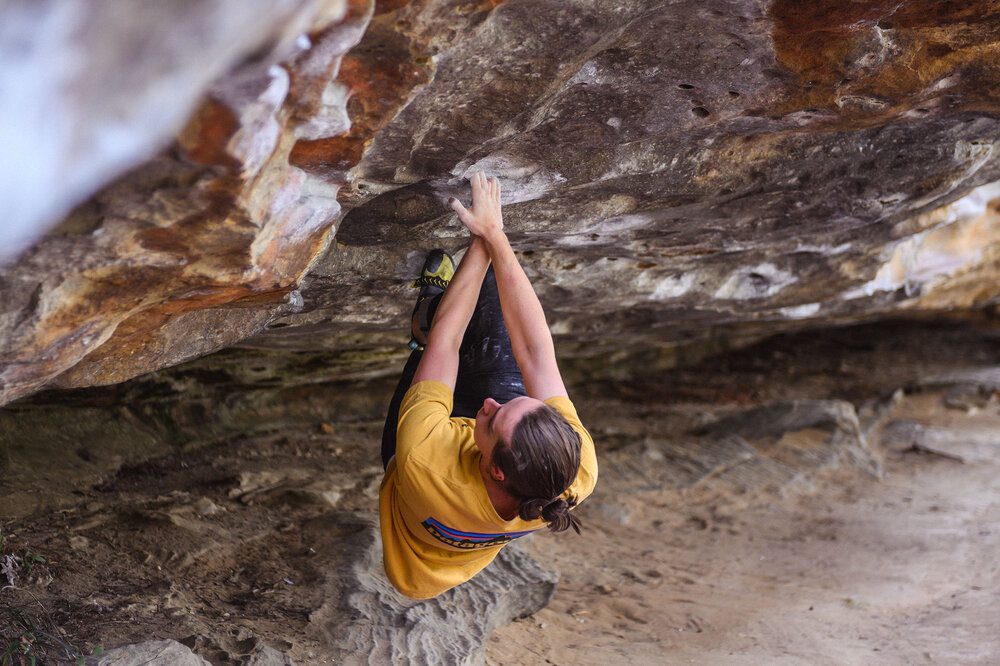
In the gym, you have all the facilities to warm up properly, and easy climbs to ease yourself into the movement. Outdoors, you don’t always have that luxury. Some crags might lack the easier climbs to get moving, or space to really stretch out. Resistance bands are a good compact solution to help with a warm-up, otherwise, it’s not uncommon to warm up at home before heading out to a nearby crag!
A starter pad makes low ball problems with a sit start a little more comfortable, especially where a full-size pad is better used elsewhere. Some brands make them, or you could improvise with those craft skills you’ve been honing in isolation. A small scrap of carpet will work. Or even an old towel.
Luxury tip: Go for the Open Project Commit boulder pad - it has the starter mat tucked away nicely in the side pocket.
Personally, this one is absolutely an essential.
Luxury tip: if you love coffee, you’re going to love these little baggies from Black Market Coffee Roasters. Grab a box next time you’re at Climb Fit.
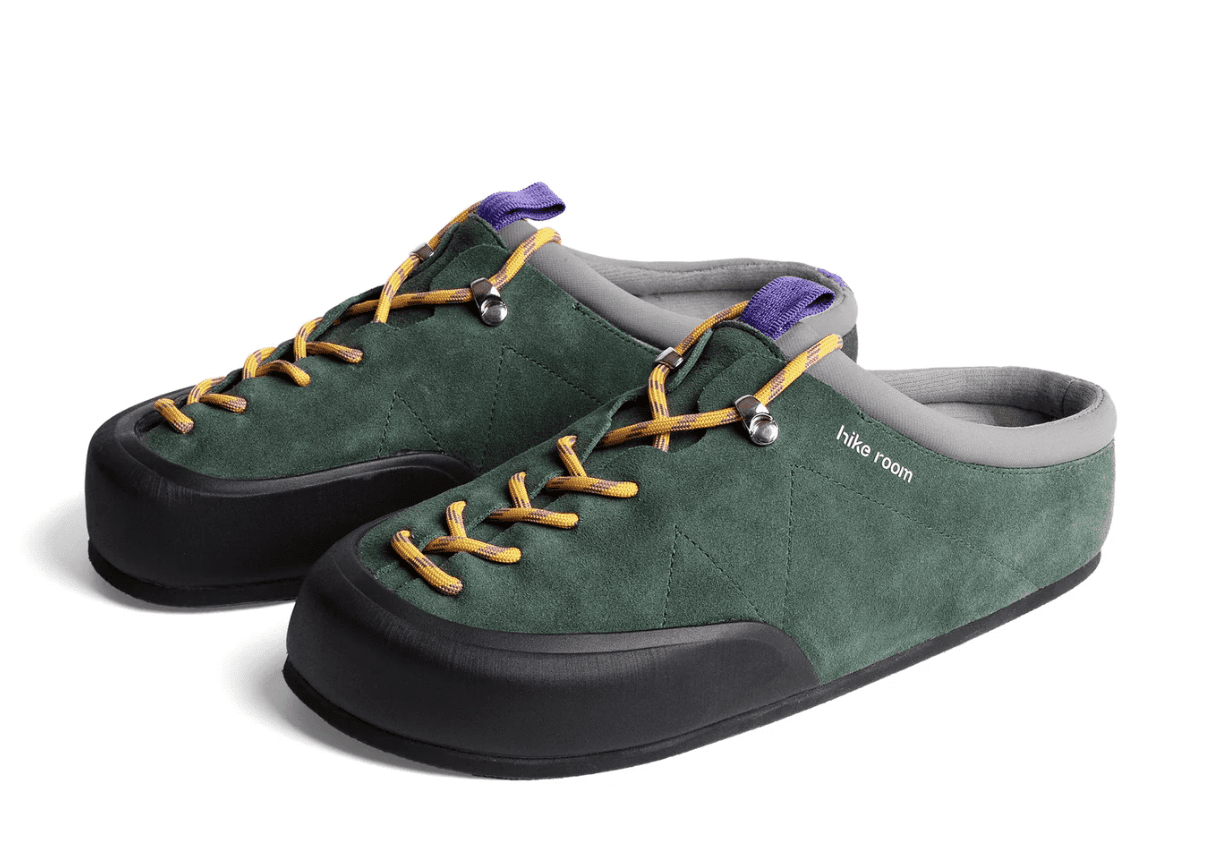
Choose your weapon - slides, thongs, runners, UGG boots… A comfortable pair of shoes to slip on when you’re not climbing can make your day!
One item we are lusting over are these from HIKE ROOM - a new brand from Spain. How good would these be?
Don't get too excited, they don't ship to Australia just yet, but let us know if you want us to stock them here!
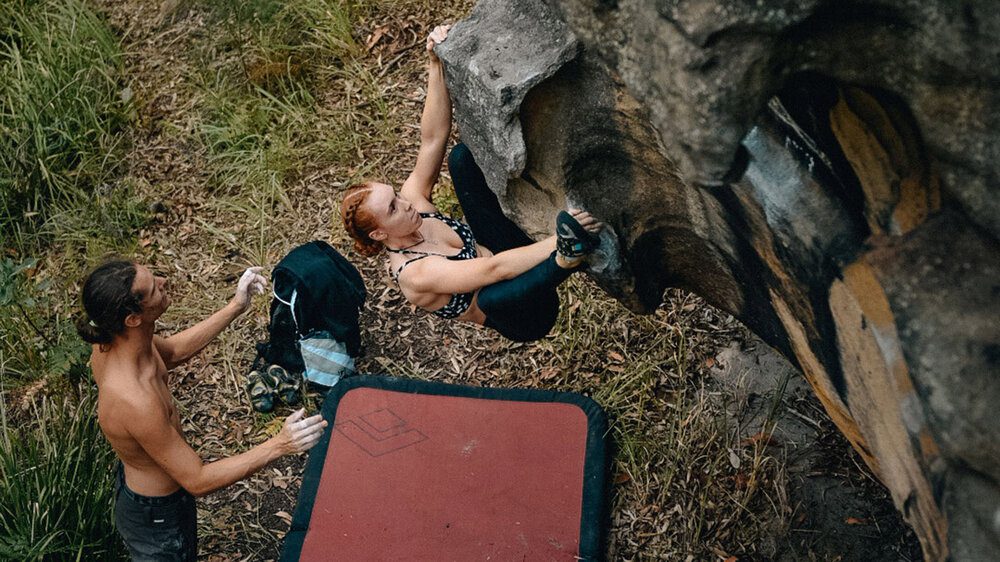
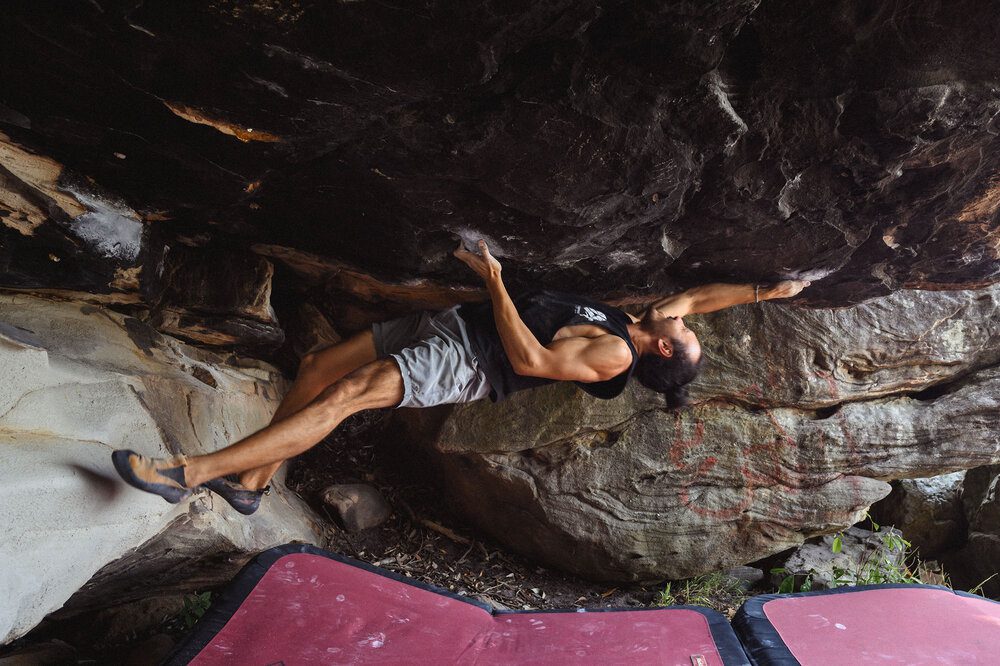
Safety is everything. Climbing is inherently dangerous, and when outdoors, that risk is increased. However, climbing outdoors can be as safe or as dangerous as you make it. In the world of outdoor bouldering, safety comes in the form of your pad and your spotters.
Putting your pad down on the ground is a lot more complex than… putting your pad on the ground. Before you slap it down, make sure the area is clear of sharp sticks and branches that could potentially compromise the pad. You also want to try and keep the pad as level as you can to avoid rolled ankles, so watch out for protrusions and uneven surfaces.
Pro Tip: Pads that are made with a hinge construction and not a ‘taco’ fold, can sometimes have rocks and other objects creep up into the hinge which is unprotected - be sure to watch out for that!
Where you put your pad down is pretty straight forward, especially if the climb is simple. Vertical climbs that go straight up can have a pad right under the climber, however, if the boulder problem starts to overhang or traverse, or if there are dynamic movements involved - think about where the landing zone for the climber will be and consider multiple pads (just be sure to fill the gaps between them).
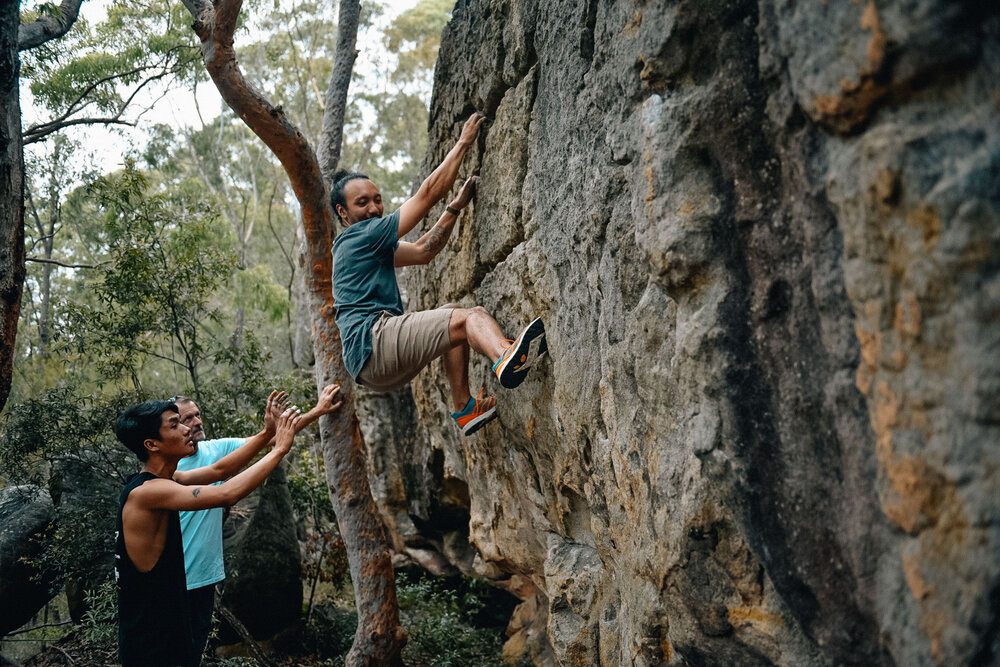
There is an art to good spotting, and experience is the best teacher - however, there are a few key points to keep in mind when spotting.
Firstly, your job as a spotter is not to catch the climber like superman. You are there to direct the climber onto the pad, letting the pad do the work. ‘Advanced’ spotting techniques on highball boulder problems may warrant a bit more of an active spot, but for the most part, you’re there to make sure they land where they’re meant to land.
On overhanging boulders, there is an added danger that the climber’s head may overshoot the pad, so be sure to take that into account when moving the pad and spotting. Injuries can occur even on low boulders.
When you’re spotting, keep your knees and elbows slightly bent to absorb some of the impact, and keep a stable stance so you yourself don’t get pushed off balance. Keep your hands high and stay alert, from the second the climber pulls on, all the way to them clearing the top out. They might seem like they’ve passed the crux when they’re topping out - but they’re also the highest up they’ll be.
When you’re spotting a falling climber, aim for their hips or waist. If you grab them too high you’ll end up just pushing them over and ramming their head into the wall… however, on overhangs and roofs, the shoulders are a good place to aim because it will tip the falling climber upright, back onto their feet.
The conversation about crag access and climber etiquette is a broad topic that will never end and could even be a whole separate discussion - however, the principles of climber etiquette is quite simple and hugely important given the current climate around social distancing regulations as restrictions begin to ease. So please, keep the following in mind:
The outdoors is there for everyone to enjoy, and as climbers, it is our responsibility to keep the places we love open and accessible, and to keep the reputation of climbers held high in the eyes of the public so we can keep doing what we love!
Words and photos by Adrian Mascenon. Climber. Photographer. Dad.
