When it comes to overhangs, there’s often one word that comes to mind… ‘hard’. Though is that actually true? What if you want to brave the steeps and hit the overhangs with everything you’ve got? Let’s delve into what makes climbing overhangs different, and then give you the tools you need to show them who’s boss.
Overhanging walls, by their very nature, can be an intimidating challenge. Towering high above you in long sweeping lines, right over your very head - they range in angle from just past vertical, to an all-out roof.
Often when beginners first jump on overhanging terrain, it’s a humbling experience. Why does it seem so much harder than a vertical wall? Is it mental attitude and the angle of the wall? Is the technique different? Do I just need to get stronger? Yes, yes and well… yes.
The first thing we need to do to climb overhangs better is to understand why they seem harder - because as much as they might be tougher in nature, they’re not as tough as you may think - and while it’s absolutely not all about strength - it is all about physics.
This blog will cover;
Rock Climbing is a skill-based sport. You’ll hear time and again how vital technique and footwork is, and it’s absolutely true. It’s essential to at least have a good understanding of fundamental climbing technique on vertical walls before tackling the overhangs - that way you can better understand exactly what’s going on!
Here’s a video of Sam showing some basic rock climbing techniques.
Rock Climbing revolves hugely around your centre of balance. You might not be balancing on a beam or walking on a tightrope, however where your centre of balance is in relation to the holds you’re grabbing on to, is what makes you feel either stable and solid or about to peel off (more on this later).
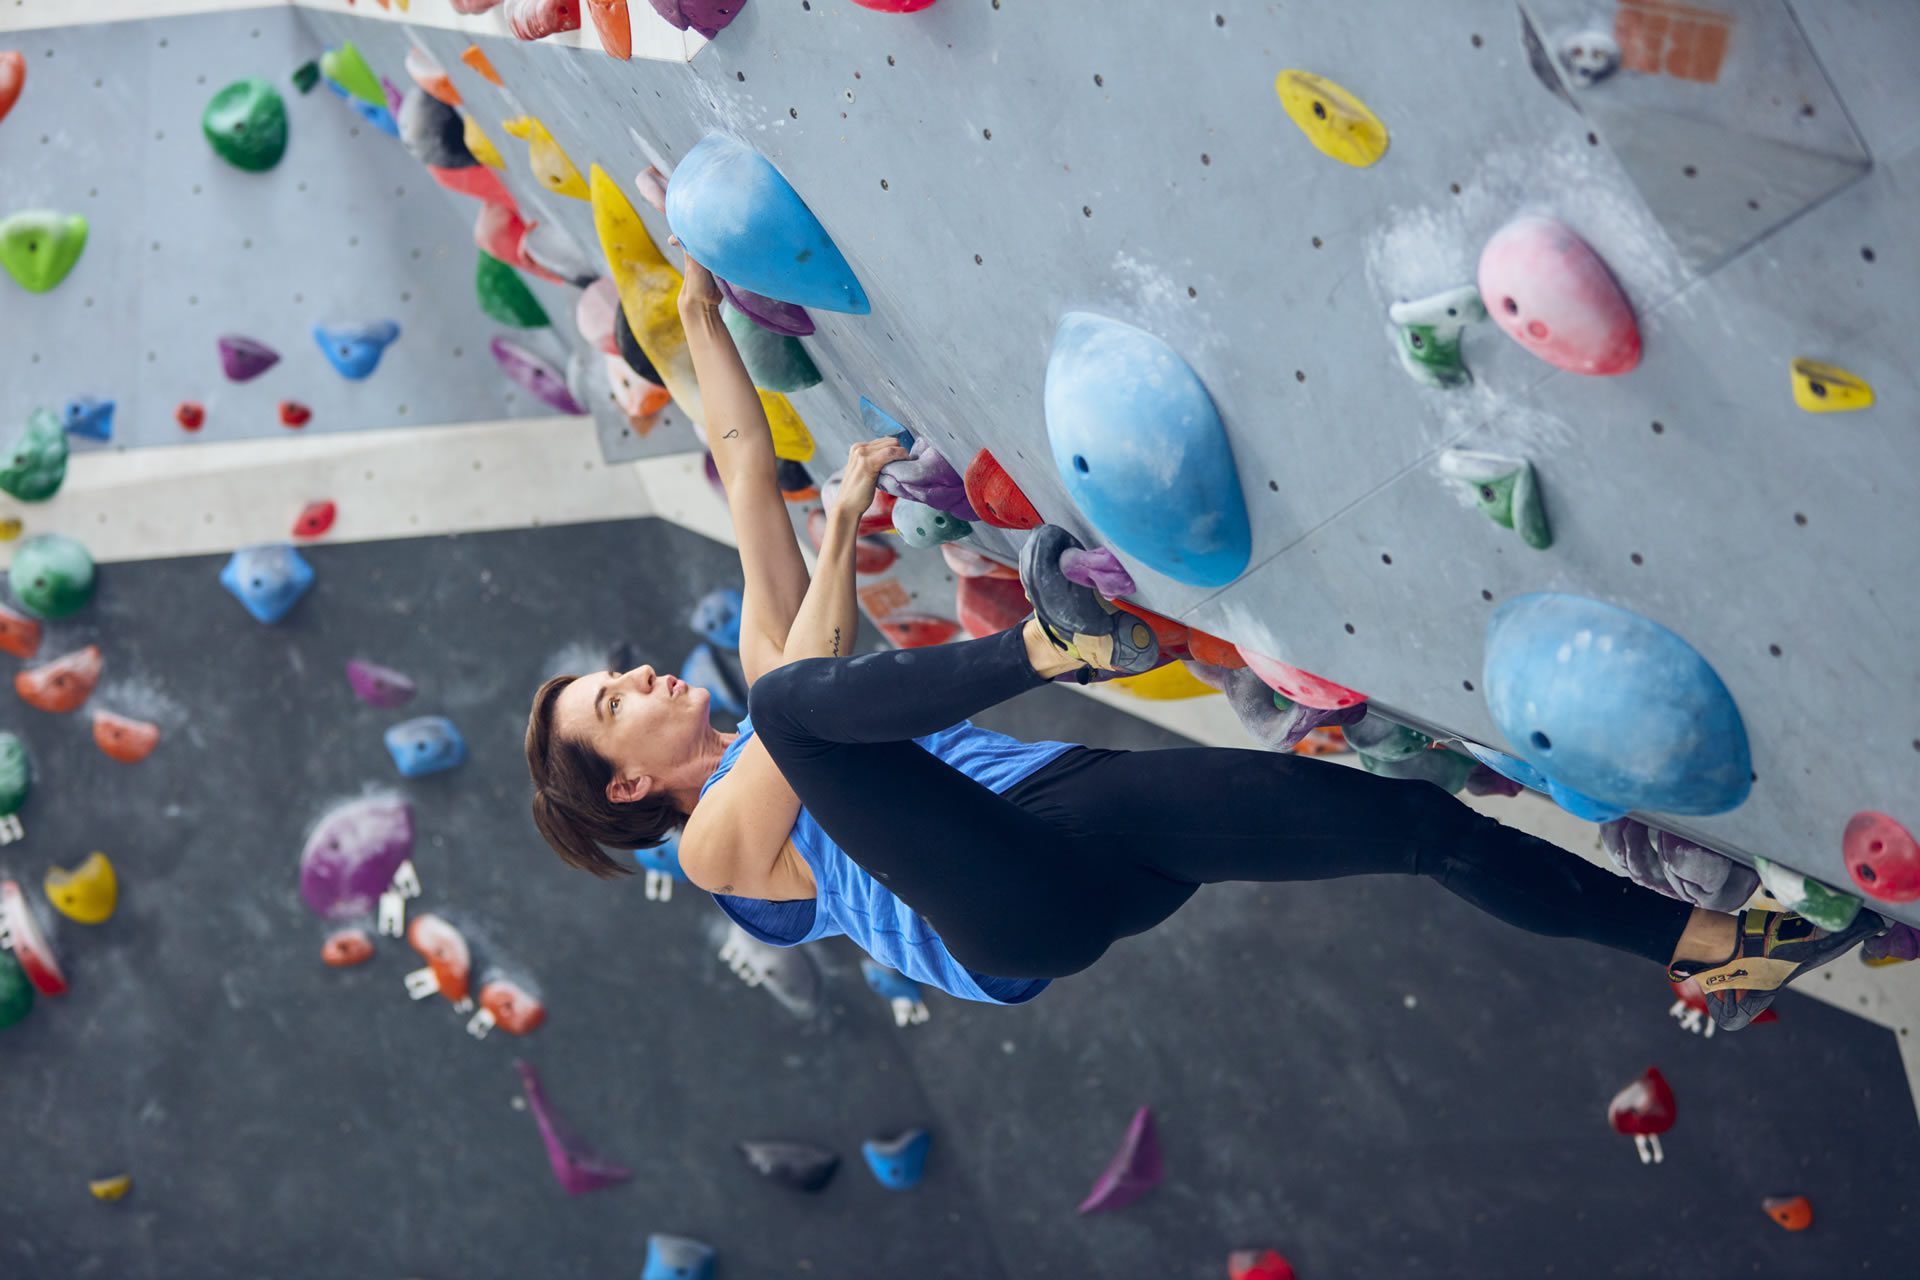
No matter where you go, gravity will pull you in the same direction - down. On a vertical wall, down is pretty straight forward. You’re basically standing! Your centre of balance (located just above your pelvis) is pulled straight down onto your feet, which can end up taking the brunt of the load. On an overhanging wall, your feet aren’t exactly underneath you, and instead, your weight is spread between your feet and arms much differently.
What that means is your arms on overhanging routes will naturally take more of a load - but it doesn’t mean you suddenly have to pull yourself up the wall. Just like climbing a vertical wall, your arms are the balancing instruments - your legs still do the brunt of the work. Efficiency is the name of the game here.
Before trying to make wicked moves on a steep overhang, let’s look at getting comfortable just ‘hanging’. Trying to glue your hips (or face) to the wall like you might on a vertical wall or standing tall and stretched out as you might on a slab, won’t serve you any good on an overhang (while resting anyway).
The steeper the wall, the more it will feel like gravity is pulling your hips (and in turn, your centre of balance) away from the wall - so sucking in constantly between moves and always having bent arms will only burn you out!
You’ll notice that if you’re too stretched out, and your feet are too low with your hands up high, you’ll likely feel like your abs are about to explode, and your feet are about to break free and cut loose. So, a simple fix - bring your feet up closer! You’ll be able to rest and literally ‘hang out’ much more relaxed because you can actually put pressure on your feet.
Your whole body needs to stay in tension, and the initial instinct is to ‘pull’ with your arms to get you closer into the wall. That’s bad for two reasons; firstly your biceps are precious, and you need to save energy in your arms. Secondly, once you pull and bend your arms, it’s much harder to keep the pressure on your toes. So, don’t do that. Try to keep your arms straight and hanging vertical, so you can save some gas in the tank for when you do need to move.
Pro Tip: Imagine the handhold is the fulcrum, and your arms are straight, rotating around it - being pushed around by your legs!
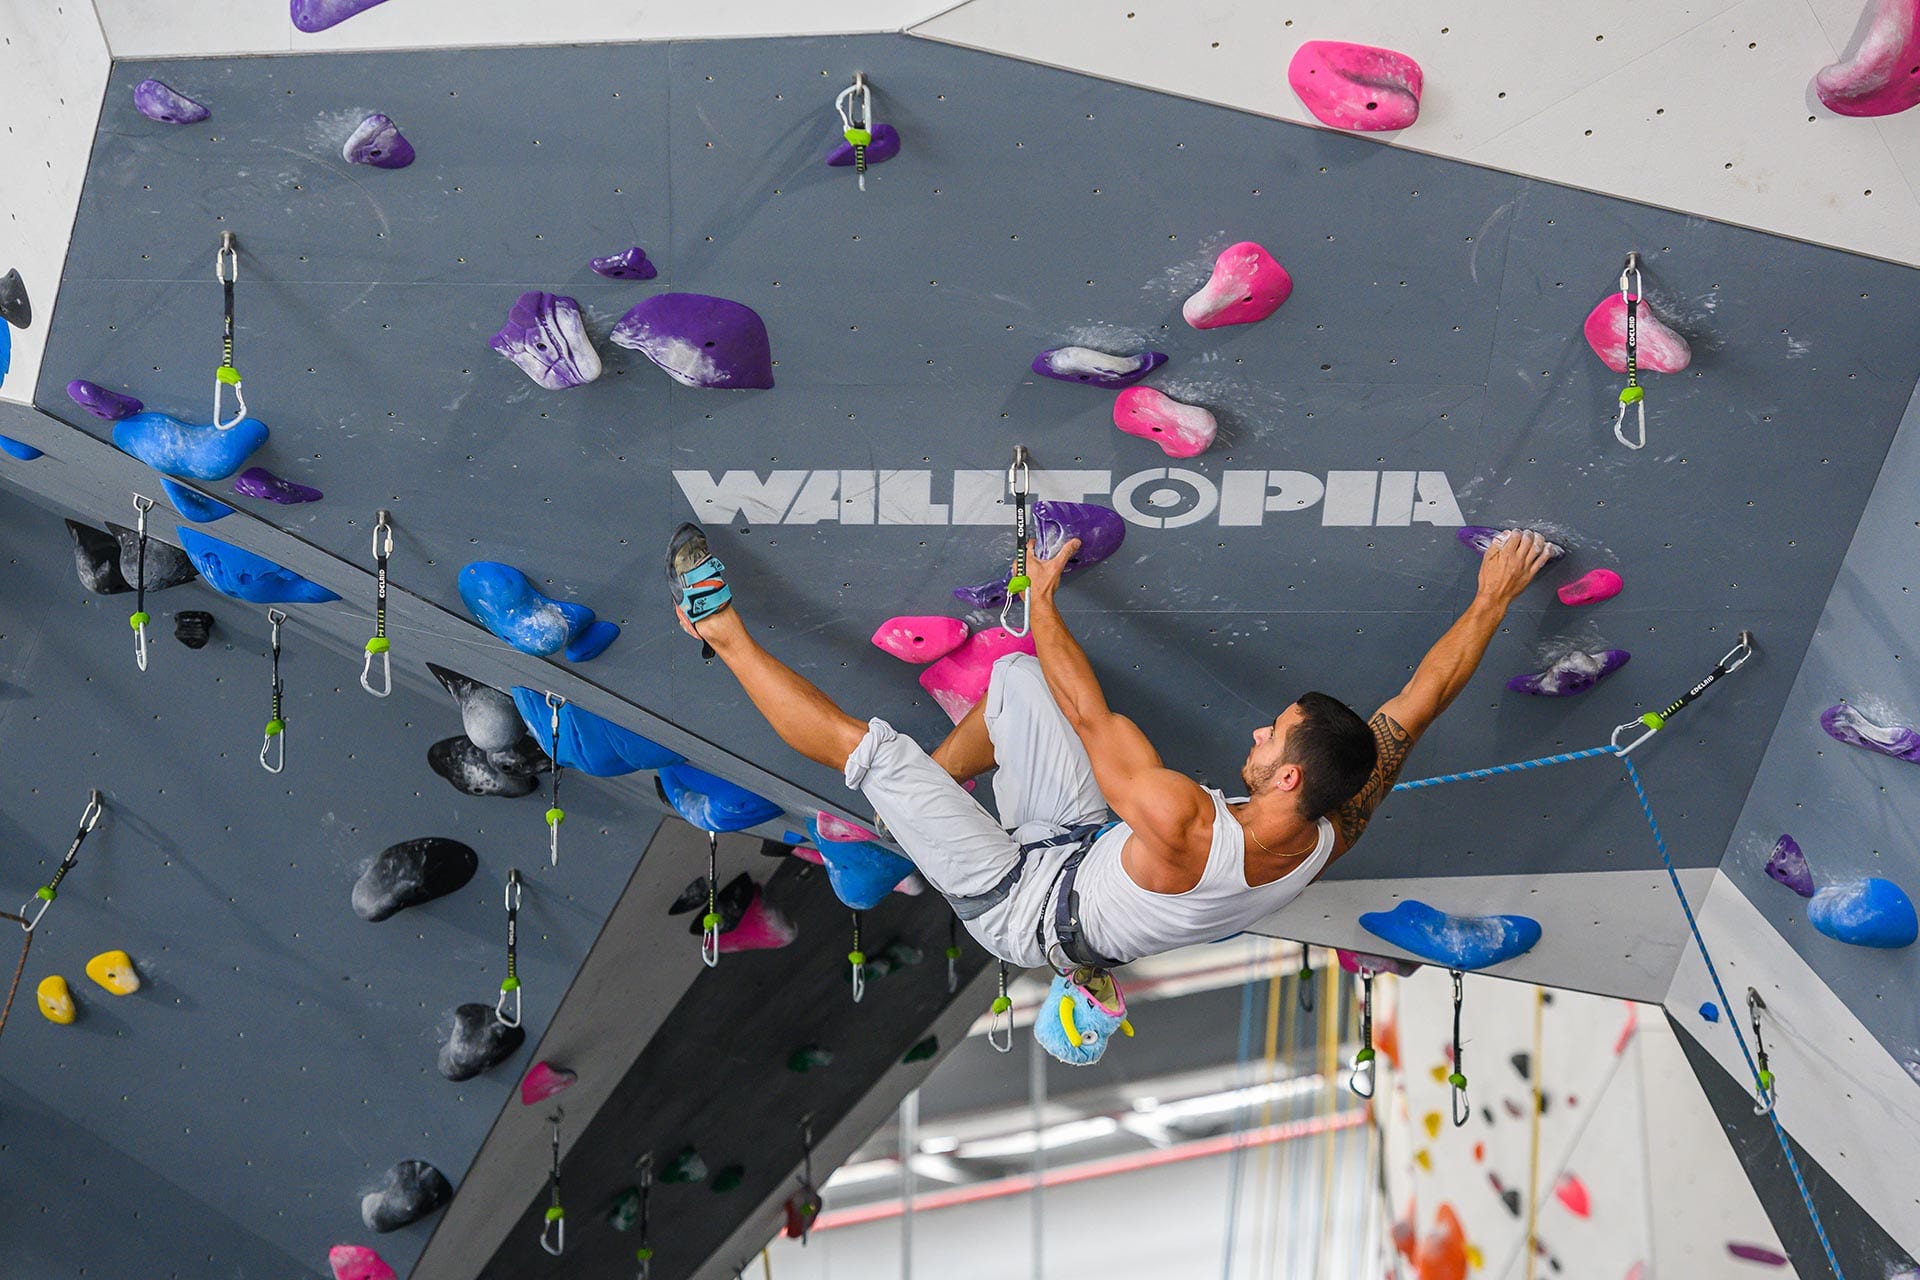
The steeper the wall, the higher you’ll need to keep your feet. In addition, you’ll also quickly discover that you won’t be able just to bring your feet up high and place them on holds however you please - you have to really engage your feet, by bearing down with your toes, almost pulling on the holds like you have prehensile feet - forcing your feet to keep tension and take some of the load. Really load up those toes! Squeeze! Don’t let those hips sag away from the wall too much - keep your core switched on.
This means you’ll need to be sure to use your toes properly, and not slap the wall with the balls of your feet! Practice being exact in how you put your foot on the holds.
Keeping tension between those claw feet and your hands is critical because when you need to make your next move, your movement will need to be generated from your hips. With high feet that are correctly locked and engaged, moving your hips before cranking down is much more comfortable and secure, and easier on your arms, because you’re not pulling yourself along headfirst.
The most basic of movement sequences while rock climbing is quite simply whichever hand you want to move, that side’s leg needs to be taking the load on the wall.
Reaching with your right hand? Push off your right foot!
If this sequence is backwards and you’re pushing your hand with the wrong foot, you’ll likely peel straight off the wall and “barn door”. The steeper the wall, the more violent the swing.
Be sure to continually scan the wall for footholds, and don't be afraid to get those feet up high! Footwork and technique on an overhanging wall can often be very, very technical, as overhanging climbs often move in a more three dimensional way. So you might not always be moving up to the top of the wall headfirst. Get creative!
A more natural way to keep this in mind, is to change your mental approach from “pulling” to the next hold, but “pushing” your hand to the next hold - and repeat “left foot, left hand… right foot, right hand… left, left… right, right…”.
Pro tip: Do some easy climbs as part of your warm-up, practising and focusing on that primary sequence. Try and do the most straightforward climb you can, as correctly as you can! Warming up is as much a mental warm-up as a physical one.
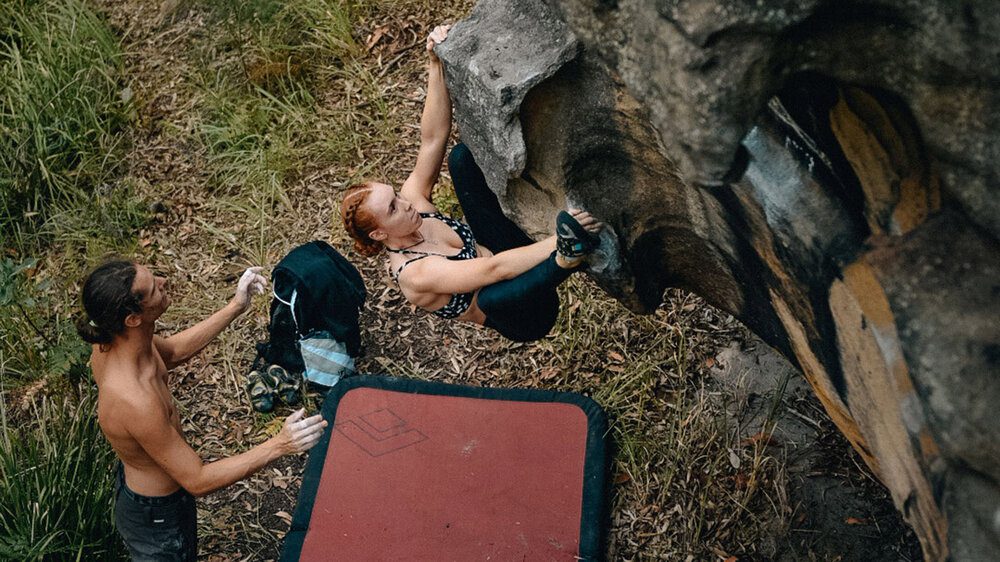
Footwork, and how you use your body on overhanging walls can be a lot more complicated. In addition to climbing in a more three-dimensional manner, you’ve also got to think outside the box, or rather… the toe box. Ha
Rather than just putting your toes on holds and pushing, there is a slew of other techniques and maneuvers that can aid your climbing, especially in overhangs. The idea behind learning different methods is to change the direction your feet are applying force (rather than just pushing down).
You can then expand your toolset of what techniques you can employ to overcome a specific problem. This in itself could be a whole new article, and can take years for climbers to perfect, however here’s a quick summary of what you might want to think of using:
Learning to climb more dynamically can definitely help with overhangs as it encourages a more powerful movement. However, there’s a difference between merely moving dynamically and a full-on dyno. A dyno means you’re basically jumping to another hold, but moving dynamically can be as simple as rocking with a bit of momentum, to help you get to the next hold (rather than locking off and pulling through slowly - which burns out those precious biceps).
With rock climbing as a sport continually evolving and competition style boulders often set with big dynamic moves with loads of power and coordination - it’s so easy to get caught up in the fun of jumpy, dynamic climbs, that we can lose that balance of dynamic vs static. Large dynamic moves are big and fun, and they feel great when you stick that ‘run and jump into double paddle dyno into toe catch’. However, too much of that when learning to climb overhangs can often detract from the age-old static, ‘classic’ technique, which is how the most basic of techniques are best practised and built.
Learning to move dynamically is very important, especially as you start to climb more difficult overhangs - however, it can often be a trap that builds lazy habits in technique. A loose core can help with momentum for big powerful moves, but if you find yourself cutting loose and swinging your feet around far too often, maybe take a step back and try to climb as static as you can.
With the above tips and tricks (and scientific theory) you’ll eventually get stronger and learn to engage your core. You will also learn all sorts of funky footwork to help you climb far more efficiently to crush whatever overhang decides to hang its head over you.
