You’ve heard all the gab about liquid chalk and have been asking yourself “What’s the big idea?”.
Well, this big idea is another DIY to have a play with. There are stacks of different pre-made liquid chalks out there to choose from, with various additives, ingredients, prices and cool labels.
These have been made by more knowledgeable and experienced people than myself, which is why they’re selling liquid chalk and I am not. However, just like a kitchen novice trying to understand the subtleties of sourdough when there is a bakery down the road, I like to try things myself (sometimes with the only tangible positive outcome being an appreciation for the bakery down the road).
You’re probably here because you share that same vein of curiosity, and might have read our recent post about the use of liquid chalk in gyms, so let’s have a look at what goes into making liquid chalk.
A note on safety:
The alcohol you’ll need to make this with looks just like water but is very flammable and is poisonous/toxic if ingested or fumes are inhaled. It should be used in a well-ventilated area away from open flames. Always read the directions on labels of things you’re playing with – stay safe kids!
Isopropyl Alcohol or denatured-ethanol - the sterile-cleanly kind, not the dirty-drinky kind. It’s what’s in a lot of hand sanitisers, rubbing alcohol and other sterile wipes/cleaning products. Be aware that you’ll need to find some that don’t have a moisturising additive – otherwise your hands will just end up spoogy and damp.
Chalk – most good climbing chalk is pure, uncut, finest grade MgCO3, which is all we need to put in our alcohol. Again, keep an eye on what the additives are – some big brands use a secret drying agent, and without knowing what that is it’s hard to know what it will do. That’s where you get to experiment with your chosen chalk of choice.
Stoke – Not essential but a nice touch. You’ll likely have plenty of this if you’re making your own liquid chalk, but feel free to substitute psyche, or in a pinch, some excitement will do.
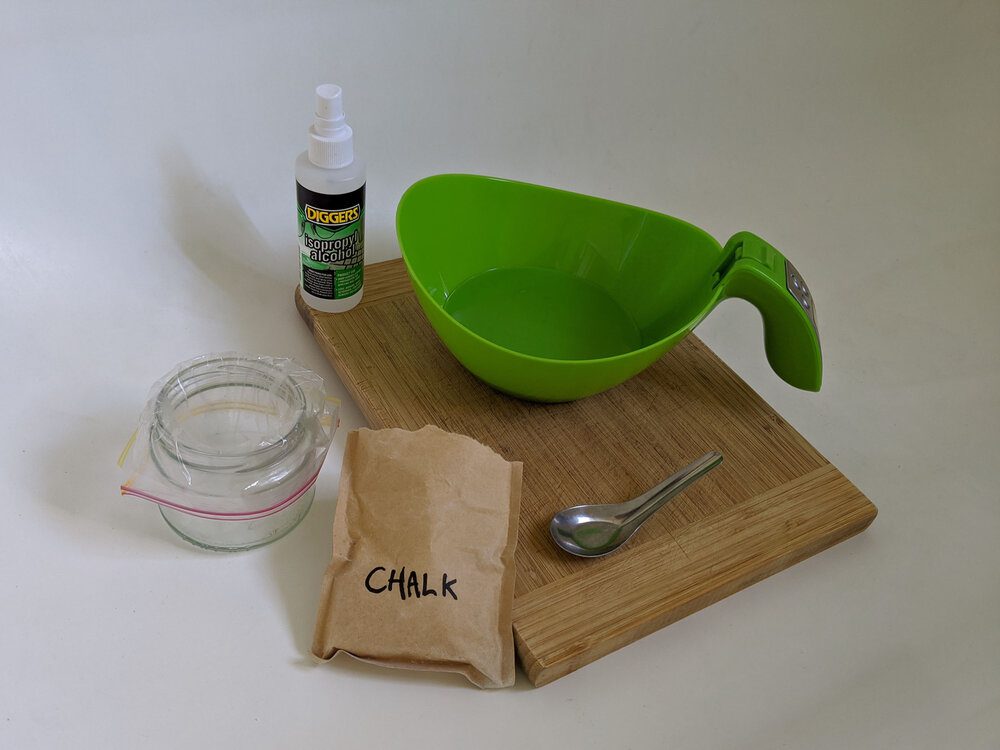
This is all you’ll need to get started on your liquid chalk journey!
Other bits
A bowl or jar, to mix in
A small spoon, to crush and stir with
A measuring tool (digital kitchen scales work well)
A receptacle for your finished product: I re-used a jar and a small zip-lock bag, then transferred to an emptied hand sanitiser bottle. You could also recycle a tube from toothpaste, beauty products, or whatever else you like to get that fancy DIY feel (just be sure to wash them out!).
Now that we’re edumacated, it’s time to put the DI into DIY (and step away from the anagrams before someone gets hurt).
After a little trial and error (read: mess) I figured the most straightforward approach was to weigh the chalk into the jar, crush it up as best I could then add the alcohol to it, weighing as I went. You don’t need to weigh it, but if your liquid chalk project is a success you can re-make it more quickly in the future if you keep track of what you do.
I used a 1:4 ratio by weight, which was about 15g of liquid chalk to 60g alcohol. Keep in mind the alcohol may evaporate a little as you make this, and more so if it’s allowed to warm up by being handled.
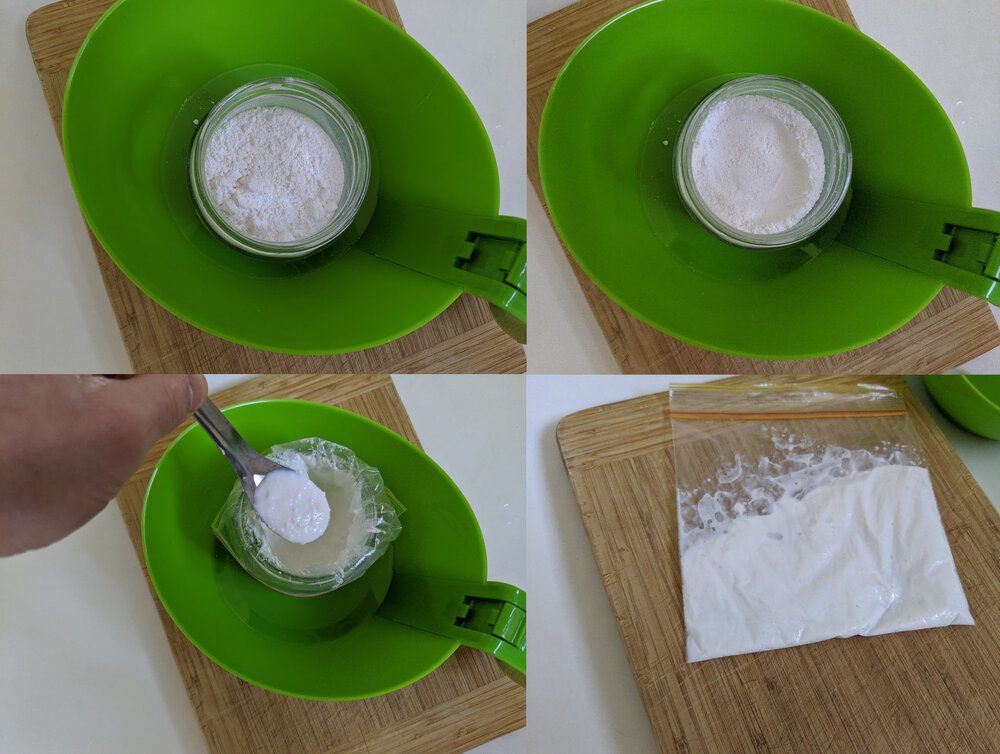
The stages of chalk, crushed, mixed goop and bagged.
Once I blended it to a decent consistency (I opted for somewhere between sunscreen and salad dressing) I closed up the zip-lock bag and cut a tiny corner off. This makes for a great makeshift dispenser, but I was lucky enough to have an empty hand sanitiser bottle to fill up too. Now I’ve got a portable DIY liquid chalk!
The test: it chalks!
