Some people have been building walls at home, some have mounted a hangboard. Some are looking down at their soft little fingers and thinking, “Well now what are we going to do?”. If you’re the latter - I have hope for you! With any old scrap piece of wood, you can create a training tool in no time at all, that will keep those fingers conditioned - maybe even help them get stronger!
The idea behind this simple training device is to create an edge that you can hang a weight off of. You then do some finger curls, or heavy hangs - whichever you desire. It’s basically like climbing, only instead of you pulling on the holds - the holds pull on you. Since it’s designed to only be used one hand at a time, you won’t need it to be complex enough to take your whole body weight. Unless you’re just super duper strong.
You don’t need much in order to create something to keep your fingers strong. Any old scrap of wood, a way to join it together (such as screws) and some basic tools. Don’t have tools? You could even make this with a multi-tool!
It doesn’t really have to be good. All you need at the very least is something to create a body strong enough to hang some weight off of, and an edge that’s deep or shallow enough for you to load your fingers. This can be made from any old scrap of wood! Wood can be found everywhere, from old furniture being thrown out, to old pallets - or even the off-cut bin at your local hardware store.
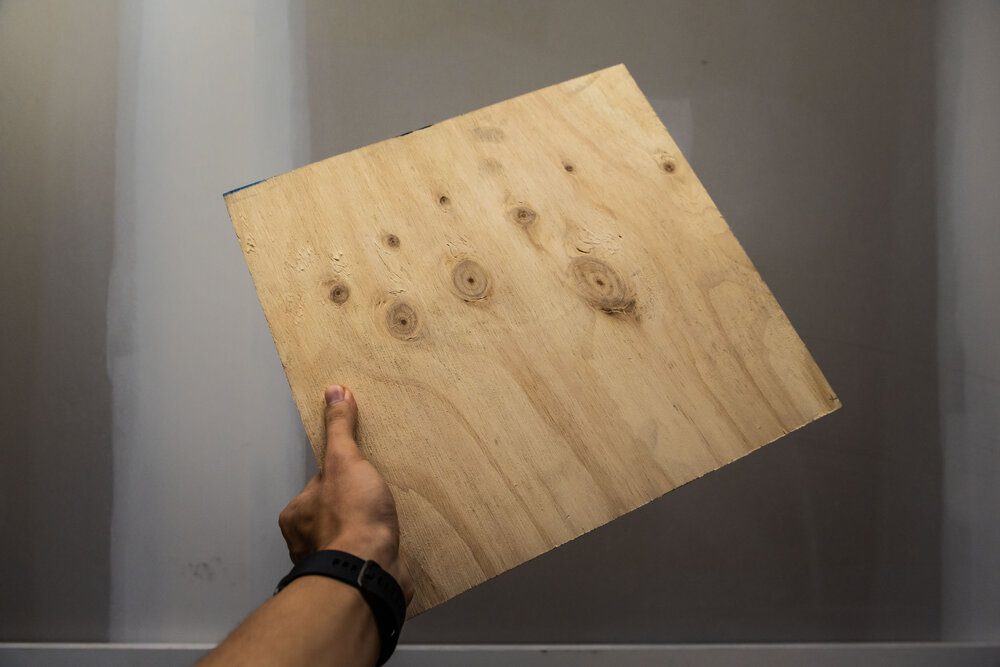
What a beauty!
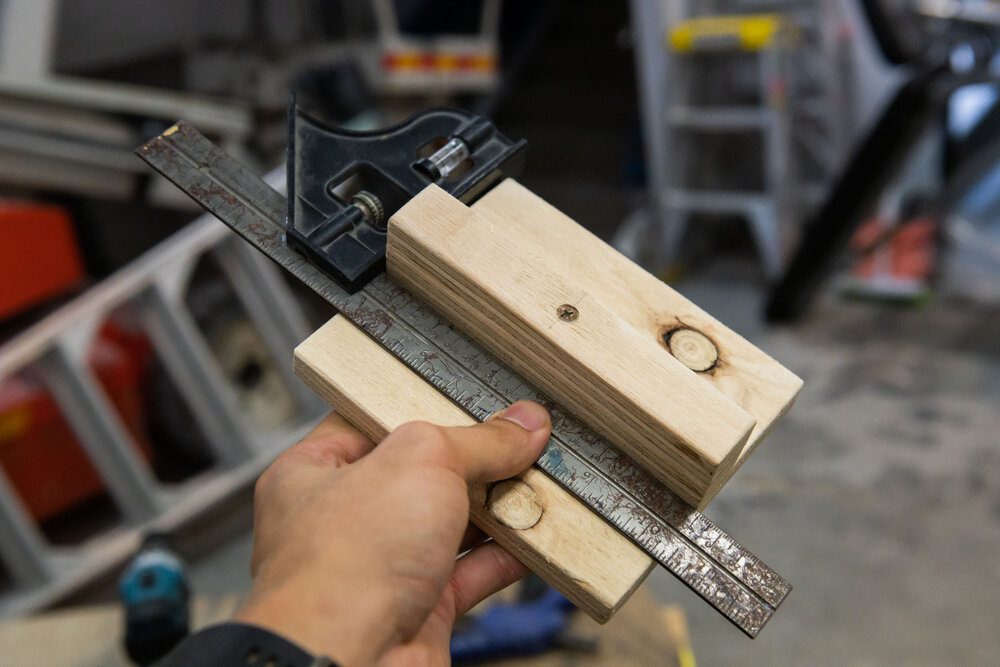
So square so nice.
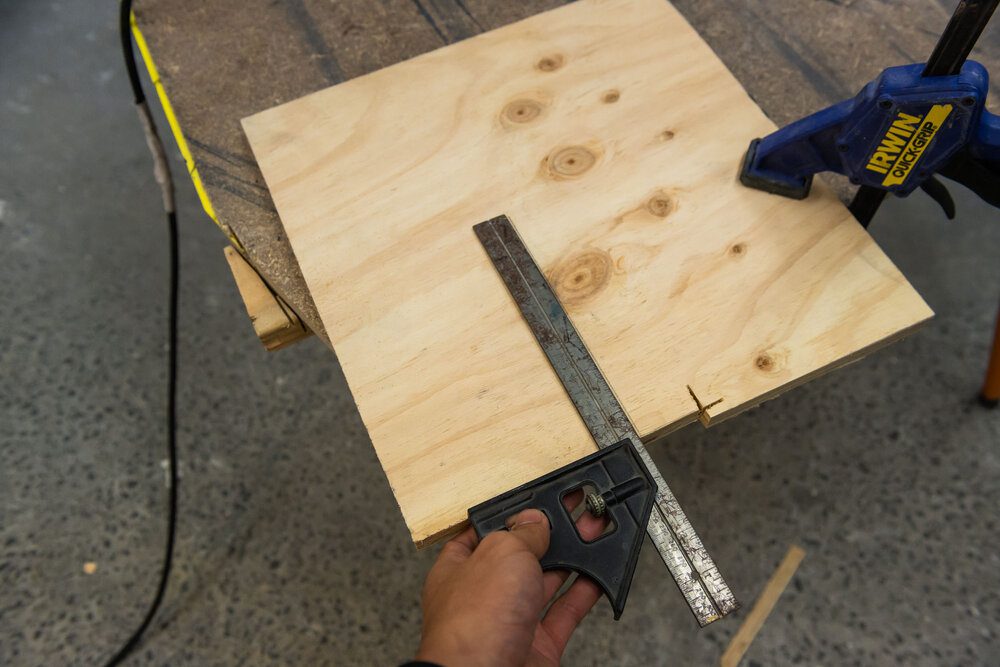
This piece of plywood is pretty large - so we’ll need to cut it down to size. If your scrap of wood is smaller, you might not need to! If you want your new toy looking pretty you can square it up. Either use a set square or do some quick maffs with the 3-4-5 method. Or just use your eyeometer. No one’s judging.
Have a think about how you want to create your edges and draw it up on your work piece. Having a clear idea in your mind of where you want to go is crucial with… well, anything really.

The wood was already chipped, maybe….
Close enough.
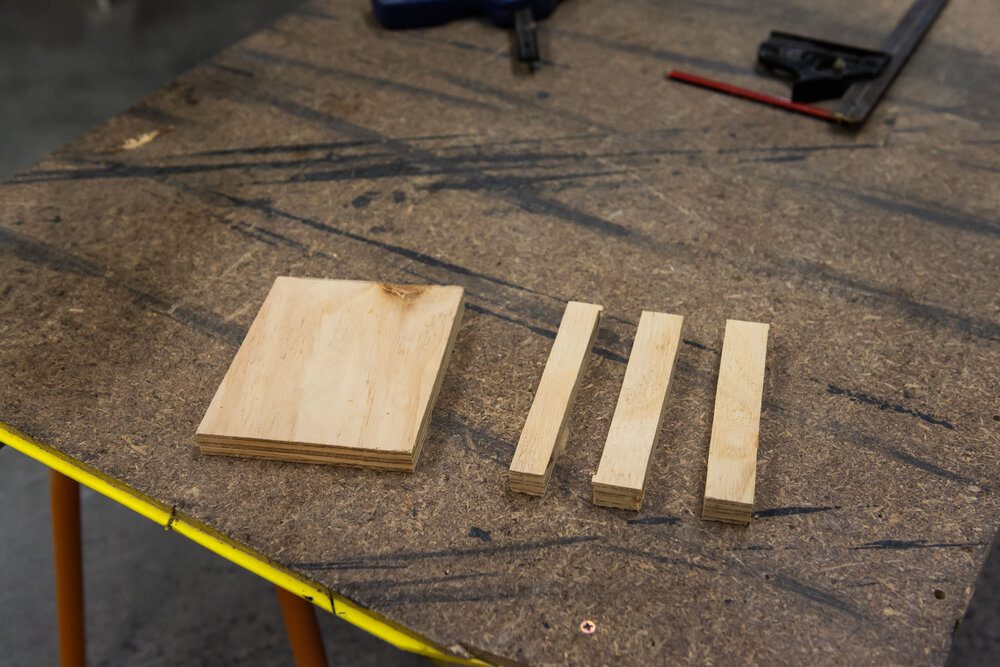
With my piece of wood I’ve decided to cut a few strips. One to create a smaller edge and the other two that I can double up to create a larger edge, on a body that I can flip either way and also use as a pinch block. Sick.
Tip: No need to get hung up on being CNC accurate here. Chop it up and see what you’ve got!
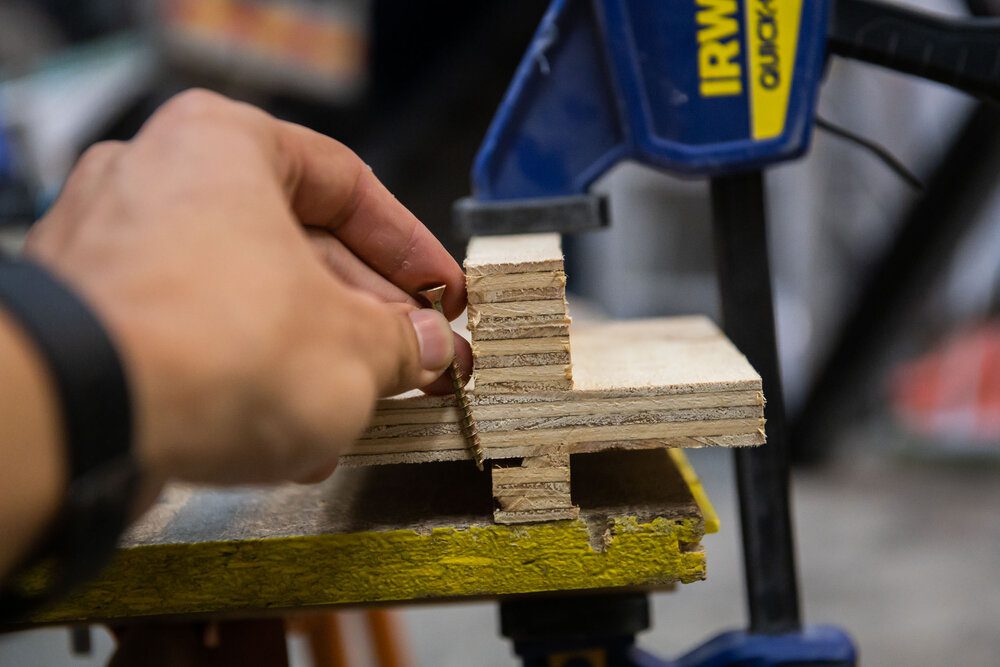
Stack them bad boys up and use what you can to hold it together. Plan out where you want to put your screws, and line up the pieces of wood to make the best use of what fasteners you have in case they’re too long. You don’t want a screw blowing out the back of all your hard work! Creating an edge that’s level and square will also help - though ultimately HOW the weight is hung will make the most difference.
Tip: How well this thing stays in one piece depends on how well you’ve fastened it together. If in doubt, go ahead and over engineer it! I ended up with 5 screws that are long enough to go through all the pieces, plus some liquid nails to glue it together.
That’ll do.
Flat is good.
If you’ve got a drill, go ahead and punch a hole in the body. If you’ve got a drill bit large enough to fit a carabiner, that’s an easy option. If not, you only need something large enough to pass some accessory cord through to act as a sling. If you don’t have a drill at all, you can even get creative with wrapping slings or cords over the actual tool itself!
Tip: If you’re going to drill a single hole like I have or even two holes to pass some accessory cord through, it’s important to measure it out and centre it - otherwise you’ll be hanging the weight unevenly!
I decided to sand my funky little finger trainer down to make it a little nicer, as well as sanding in a positive edge just in case I get super weak eating all the cinnamon scrolls I’ve suddenly had time to bake. Go ahead and give it a crack! Hanging a weight the way I have will give you a slightly sloping edge, but playing around with different ways to mount it, and different ways to create it in the first place can not only give you plenty of options to train, but be loads of fun!
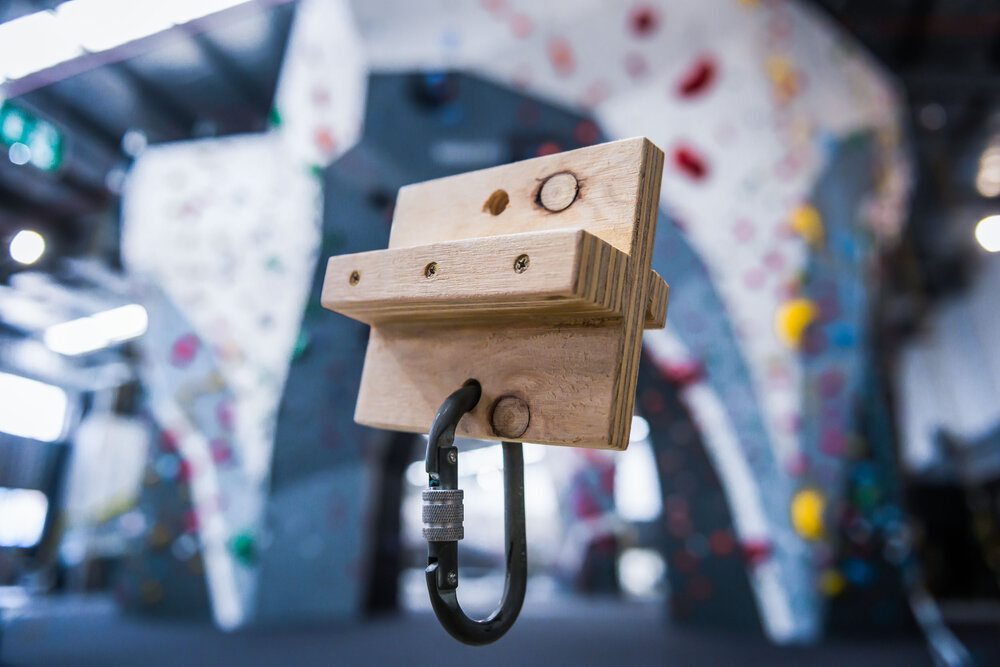
Voila!
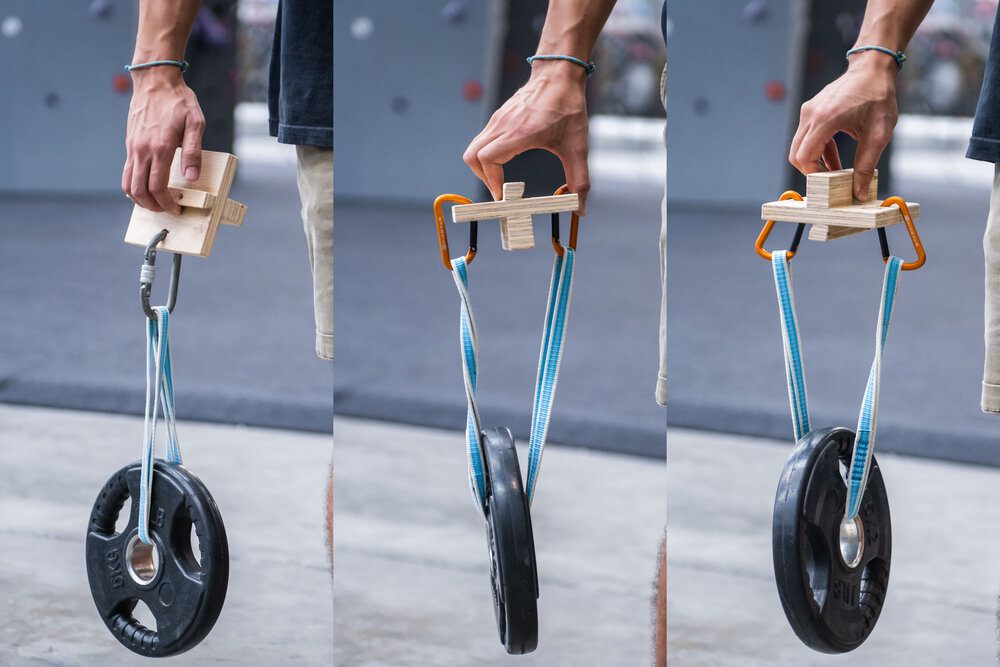
Here’s just a few ways you could use this to train.
Get creative! Upcycle, recycle, use whatever you can get your hands on, and show us what you’ve done!
